


A Step-by-Step guide to configure SSH Public Key Authentication on a MikroTik router using an RSA keys
In RouterOS 6.31, MikroTik introduced support for RSA keys for authentication so I decided to give it a test. SSH Public Key Authentication on RouterOS using DSA keys has been supported for a long while. This MikroTik tutorial will guide you through the process of configuring authentication with RSA keys. This tutorial is really three articles in one, pick the one that fits your environment. SSH from a Linux host, Putty on Windows, or SecureCRT on Windows.
 Generate an RSA key pair on ubuntu linux
Step 1: Run ssh-keygen
Step 2: Copy the public key to the MikroTik router
 Generate an RSA key pair using SecureCRT (Windows)
Important If you have already created a private/public key in the past using SecureCRT make sure you backup your keys or just use the existing key pair. You have been warned.
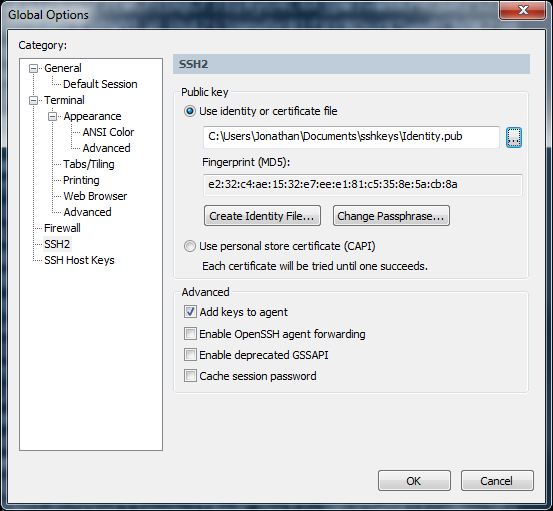
Before
you start, choose “Options | Global Options | SSH2” from the menu to
see if you have already generated and configured a SSH key pair.
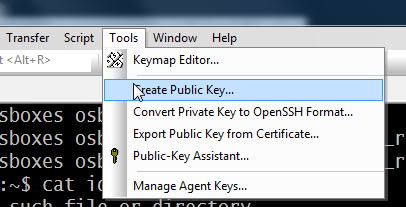
Choose “Tools | Create Public Key…”
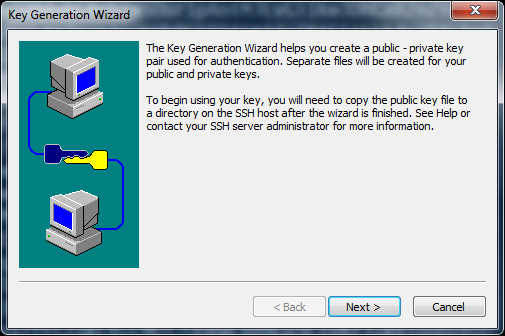
Click “Next”
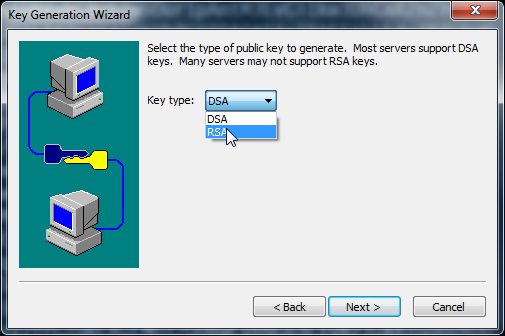
Choose between DSA and RSA key generation, RSA for this tutorial.
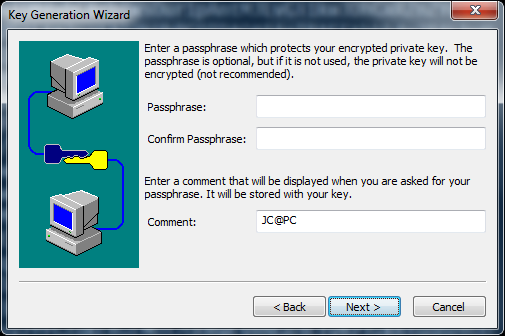
Leave Passphrase blank for true passwordless authentication
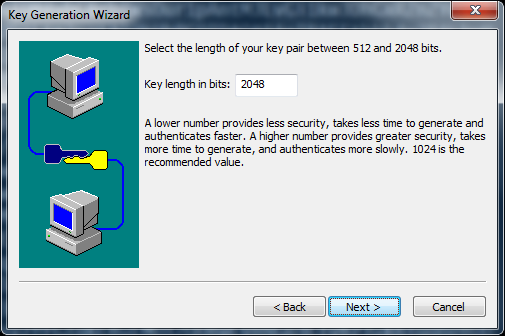
Use a key length of 2048
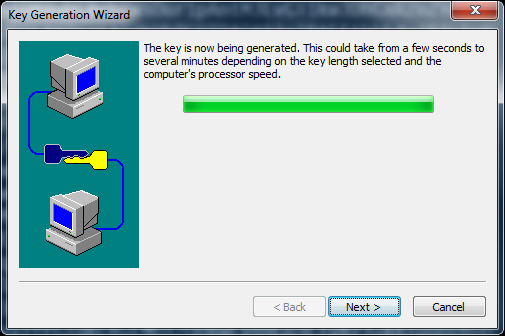
Click “Next” after the RSA key is generated
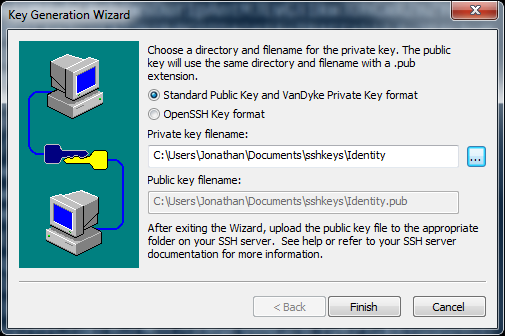
Choose where to save your key pair, I created a folder in My Documents named “sshkeys”.
 Generate SSH Key pair using PuTTY’s puttygen.exe (Windows)
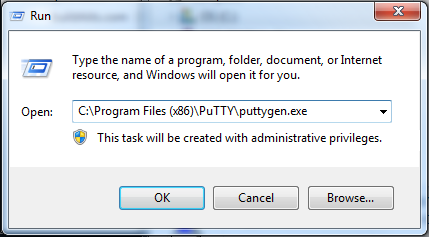
Click “Start | Run” and launch “C:\Program Files (x86)\PuTTY\puttygen.exe”

Ensure that key type is “SSH-2 (RSA)” and key length is “2048”. Click “Generate”.
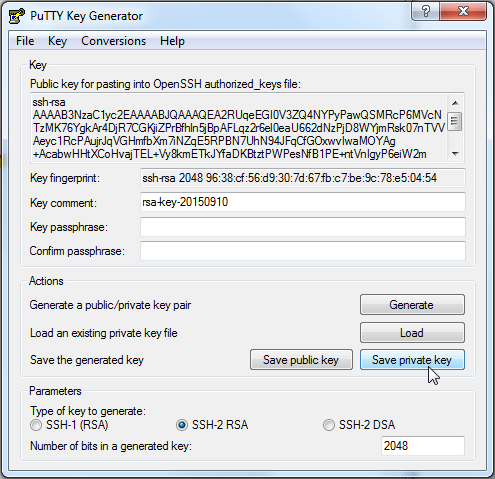
Click
“Save private key” and “Save public key” to save each. I saved them to
My Documents\sshkeys and named the public key “puttykey.pub”.
 Install the Public RSA key and associate it with a user
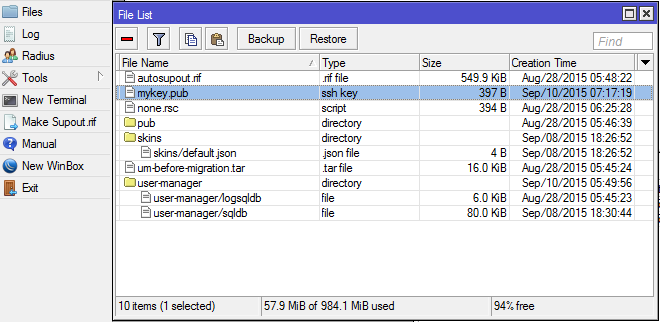
Step 1: Use winbox to verify that the file was copied to the router
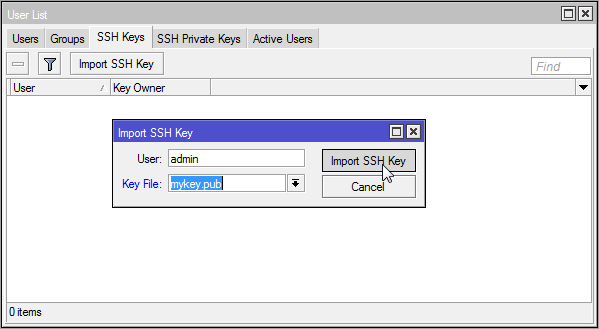
Step 2a: Import the public key using Winbox
Step 2b: Import the public key from the command line
Test your configuration by connecting with SSH
How to export router’s configuration using SSH
How to create a binary backup and transfer using scp
References
- robert.penz.name/…via-ssh-public-key-authentication/
- wiki.mikrotik.com/wiki/Use_SSH_to_execute_commands_(DSA_key_login)
- chiark.greenend.org.uk/~sgtatham/putty/download.html
- vandyke.com/products/securecrt/
fonte: http://jcutrer.com/howto/networking/mikrotik/routeros-ssh-publickeyauth-rsa-keys


0 comentários:
Postar um comentário