


Learn HTML Free in [2022] – Basic HTML Codes for Beginners
So you’re not a total nerd, and you’re running your own site. Or maybe you are a total nerd, and you just haven’t gotten around to learning HTML yet. Either way, you’ve got a website, and it needs some changes. Maybe you’d like to change some of the text in your WordPress theme. Maybe someone made you a pure-HTML site, and you need to update some content, maybe switch out an image.
Well, there’s good news: all this is actually incredibly simple. You don’t need to be a programmer or anything like that. While HTML (Hypertext Markup Language) is generally considered to be a “coding language,” it is not a very powerful language. That is to say, HTML on its own cannot be used to perform all tasks that can theoretically be accomplished by computers.
Throw in CSS3 and JavaScript, and this becomes a whole different article. Or book. But we’re not touching that, because you probably just need to update your website with images of your latest deals. I want to make that easy for you, and so does HTML.
I’m going to give you the beginner’s tour of HTML as a language, and explain how web pages are built in the simplest way I can. By the end of this article, you’ll be able to make sense of what you’re seeing when you look at the code of, for example, a blog template in your content management system (CMS).
Before we get to the practical stuff, one quick note: “webmaster” is what people called web designers, web developers, and content managers in the 90s. All three of the listed roles were usually performed by the same person, and those people were usually huge nerds like me.
Basic Concepts
HTML is literally designed to tell your browser (such as Chrome or Firefox), “Here’s what you need to show on the screen. Do it.” That is, HTML defines the actual content of the web page you’re on. It does this through tags, which look like this: <p>This is some text.</p>
Those letters in brackets? Those are tags. The “p” tag specifically defines a paragraph, or general block of text. You should also note how the “closing tag” uses a “/” character to differentiate itself from the “opening tag.” Not every tag operates this way. Some tags are singular, so they “open” and “close” themselves, like this: <img src=”” alt=””>
I’ll get to that one later. Anyway, there are, well… loads of tags, and I won’t be getting into all of them. I have neither the time nor the space, and unless you plan to become a web designer, you don’t need to know them all. But the “p” tag (also known as the paragraph tag) is kind of essential.
----
<p>A Turing machine is a mathematical model of computation that defines an abstract machine, which manipulates symbols on a strip of tape according to a table of rules. Despite the model's simplicity, given any computer algorithm, a Turing machine capable of simulating that algorithm's logic can be constructed.</p>----
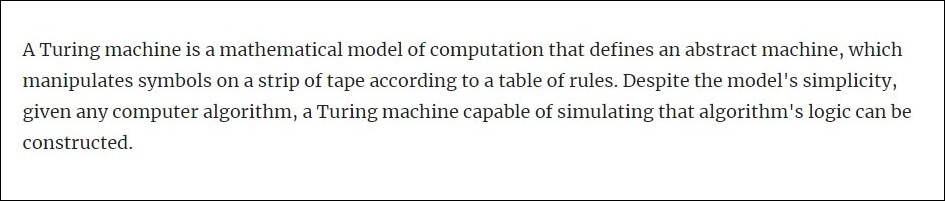
Also, in its most basic form, an HTML file is just a plain text file where the name ends with “.html”. You can actually design a whole website with Notepad on Windows, though there are many better text editors for the job.
Back to the tags: tags can have “attributes.” Attributes are used for loads of things, for instance, making one paragraph look different from another. This would usually be accomplished through the “class=” attribute, like so:
----
<p class="intro-text">This is an introductory paragraph.</p>
<p>This is a regular paragraph.</p>
----

Now you have to use a whole other language — CSS, specifically — to actually make the paragraph with the “intro-text” class look different, but that’s a guide for another day. Also, there are loads of attributes, and not every attribute can be used with every tag. Again, I am not going to give you a complete list.
Your Very First Web Page
HTML as a language has actually gone through a number of revisions over the years. Currently, the standard version of HTML is called HTML5, though you could hardly call it the fifth iteration, as such. It’s a naming convention born of convenience and branding more than precision.
HTML5 was born of frustration and nerd rage, and was intended to drastically simplify the experience of writing HTML by hand, as well as make the code easier to read for both humans and computers. Specifically, it was designed to provide more context about the content on the page.
A very basic, bare-bones HTML5 page would look like this:
----
<!DOCTYPE html>
<html>
<head>
<title>This is my awesome web page.</title>
</head>
<body>
</body>
</html>
----
That “DOCTYPE” line at the beginning tells the browser that it’s looking at an HTML5 web page. The “html” tag is used to tell the browser where the page begins and ends. The rest, we’ll get to in a minute.
That page, if you opened it up in your web browser, would present you with a completely blank window. Well, you’d see “This is my awesome web page.” in your browser tab, but that’s it. The “title” tag does that. You might have noticed the two sets of tags called “head” and “body.” Let’s have a look at those:
Got a Good Head on Your Shoulders
The “head” section of a web page is where you put all of the information about the web page itself, but not where you put the content. The only part of the head that the user should ever really see on their end is the title, and that won’t be on the page itself, but in their browser’s user interface.
Let’s see another example:
----
<html>
<head>
<title>Elephants Galore!</title>
<link rel="stylesheet" href="style.css">
<meta name="Description" content="The elephant may well be one of the world's cutest animals. Read more about elephants here!">
<meta name="Keywords" content="elephant, mammal, lemurs are cute too">
</head>
</html>
----
As you can see, this example has more than a title. It has a “link” tag which is used to tell the browser, “Hey, load this file, too,” and it establishes a relationship between the two files. In this case, it’s loading a CSS file, which can be used to define how the HTML looks to the user, in terms of typography and page layout.
It also has two “meta” tags, which are used for storing bits of information about your web page that is used by applications like search engines. I’ve got one with a basic description of the page, which is shown on search engine sites when this page comes up in their results. The second meta tag defines the keywords which will be used by the search engine for categorization.
Look at That Body Tag
The “body” tag is where you put all of the content that users are actually going to see when they load your page. It might look like this:
----
<html>
<head>
…
</head>
<body>
<header>
<h1>Elephants Galore!</h1>
</header>
<section class="pagecontent">
<p>Here's some text about elephants!</p>
</section>
<footer>Copyright © Elephants Galore!, 2467</footer>
</body>
</html>
----
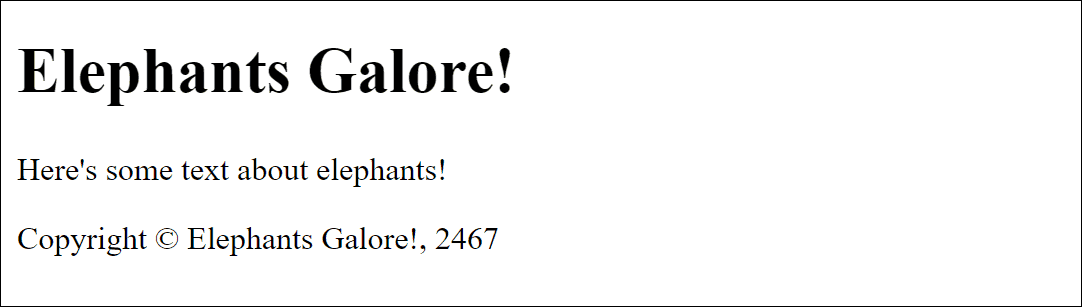
And yes, “header” is very different from “head.” We’ll get into that later.
Get Your Basic Content Tags Here
So this might be the most important section to you, the reader. This is where you’ll learn how to change up your content without breaking it. Now, we’ve already gone over what the “p” tag does, so I’ll skip past that. Let’s move on to the rest of your basic content and formatting options:
Make Your Site Easier to Read with Headings and Subheadings
Headings are the big bits of text that separate the paragraphs of smaller text so you can skim the article more easily. There are six tags that you can use to define headings and subheadings:
----
<h1>This is a level 1 heading</h1>
<h2>This is a level 2 heading</h2>
<h3>This is a level 3 heading</h3>
<h4>This is a level 4 heading</h4>
<h5>This is a level 5 heading</h5>
<h6>This is a level 6 heading</h6>
----
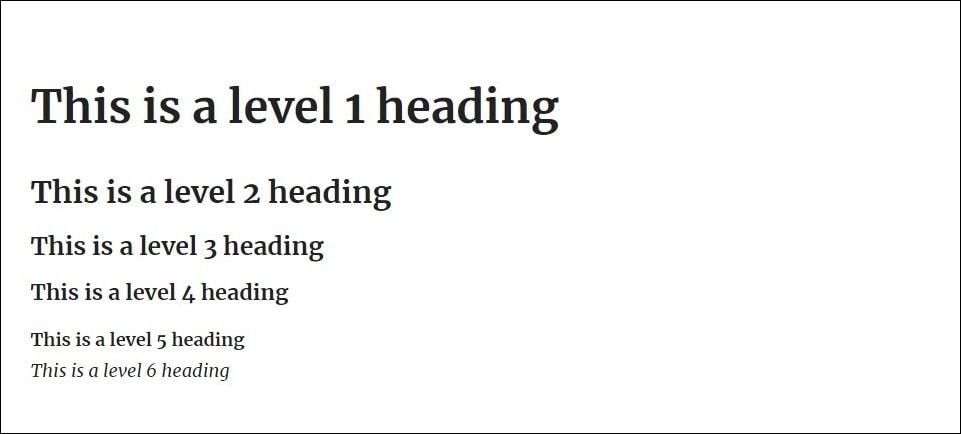
It should be noted that “h1” tags are the biggest, highest level headings, and “h6” tags make the smallest, lowest level headings. “h1” tags are usually used for things like page titles, and website logos. “h2” tags on down are usually used to separate content within your page or post.
Link to… Everything, with the “a” Tag
Okay, it’s time to talk about hyperlinks, also known simply as “links”. We link to other pages on our site, other content in the same page, and other websites with the anchor tag, or “a” tag. To turn some text into a link, you wrap it in an anchor tag, and use the “href=” attribute to set the URL for the link.
Some quick context for those who are interested: URL stands for Uniform Resource Locator, and in normal language, that means a “web address.” A URL consists of three parts:
- The protocol: Basically, this tells the computer what sort of information it will be receiving or sending. The protocols for web pages are “HTTP” (Hypertext Transfer Protocol), and HTTPS (the encrypted version of HTTP).
A web URL will start with something like “https://”, though many browsers don’t always display this part. - The domain name, or IP address: For most people, this will show up as the name of the website, like “google.” Sometimes the address includes the prefix “www.” at the beginning, but this is going out of style. You mostly don’t have to include it anymore.
- The top-level domain (TLD): Examples include “.com,” “.org,” and “.net,” though there are now hundreds of top-level domains available worldwide.
All together, you get something that looks like “https://www.google.com.” Again, the “www.” is usually no longer necessary to type in.
When you link to another website in HTML, you should use the full URL, like so:
----
<a href=”https://google.com”>Google</a>
----
That link will take the user to – you guessed it – Google.com.
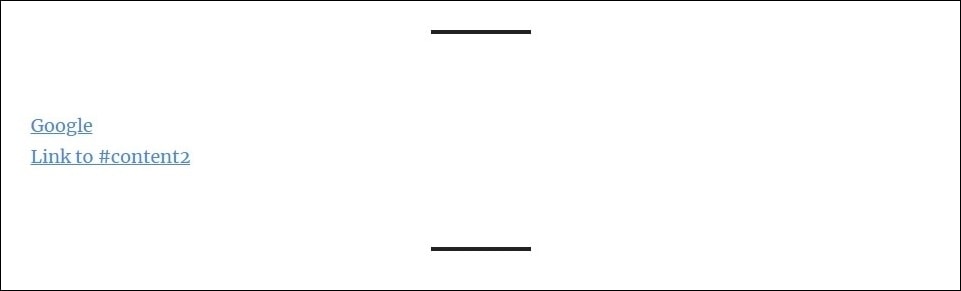
When you link to another page on your own site, though, that changes things a bit. You’ll probably use what’s called a “relative URL.” That is, the URL points to another file on the same server. If you have two pages in the same folder, like your homepage (always named index.html) and the “About Us” page (in this case, about.html), then linking from one page to the other is even simpler.
To link from the homepage to the “About Us” page, you’d simply write:
----
<a href=”about.html”>About Us</a>
----
Now, if your “About Us” page were in a sub-folder (which is located in the same folder as index.html), and that folder was called “about-us,” the code would look like this:
----
<a href=”about-us/about.html”>About Us</a>
----
Lastly, you can link to content on your own page. When users click on the link, their browser will automatically scroll down to make the linked content visible.
In order to do this, the content you want to link to must have an “id=” attribute. The “id=” attribute is used to define important sections of the web page, and each different “id=” should only be used once per page. The code looks a little something like this:
----
<a href="#content2"></a>
<div id="#content1">
<p>Here's some content.</p>
</div>
<div id="content2">
<p>Here's the content you want to link to.</p>
</div>
----
Show Off Your Cat Pictures with the “img” Tag
Got an image you want to put on your website? Then you need the “img” tag:
----
<img src="images/elephants.jpg" alt="Picture of darned cute baby elephants." width="640px" height="480px">
----
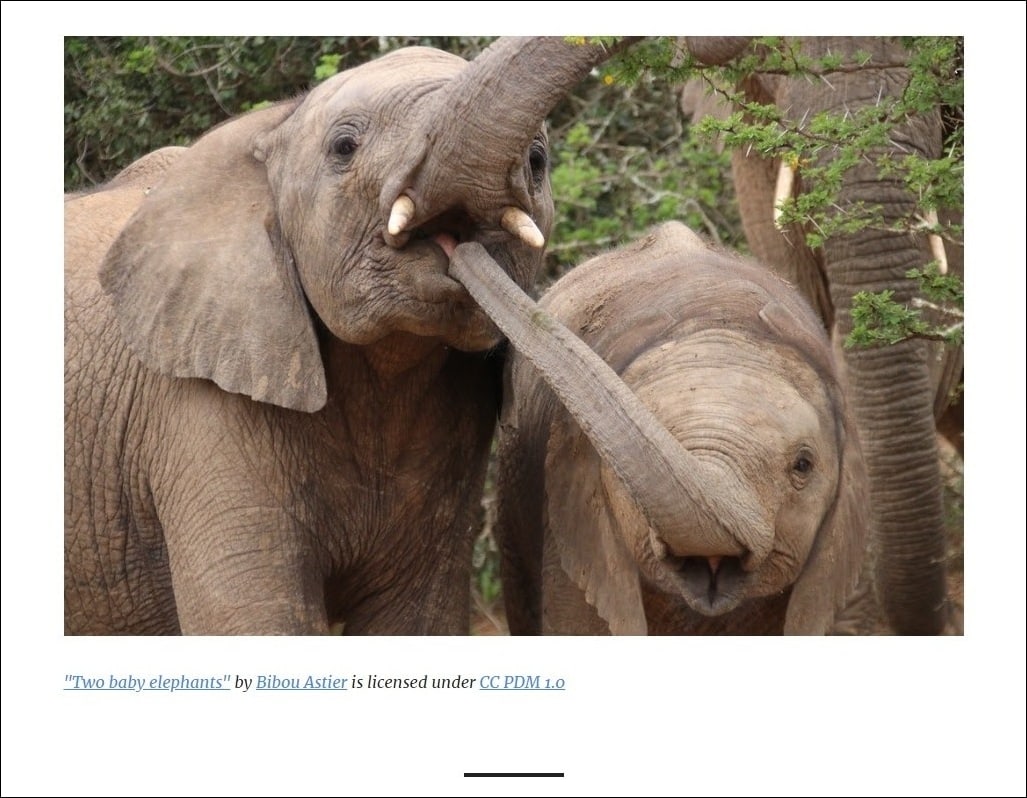
The img tag has two major attributes that you need to keep in mind. The first is the “src=” attribute, which tells the browser where the actual image is, so the browser can load it. Secondly, the “alt=” tag is used for a couple of things, including letting people who can’t see the image know what it’s about, and telling search engines what the image is about.
There are lots of people who can’t see too well, and they use screen readers to read the web to them out loud. Alt text, as it’s known, is essential for helping people get the full experience of your website, even if they’re not using their eyes to browse.
You can probably guess what the “width” and “height” tags do. In responsive, mobile-friendly design, however, these tags are not always used. The size of the images is defined in other ways, and not in the HTML. Oh, and the measurements in this example are in pixels, so “width=’640px’” means the image is 640 pixels wide.
Make Lists Like You’re Buzzfeed
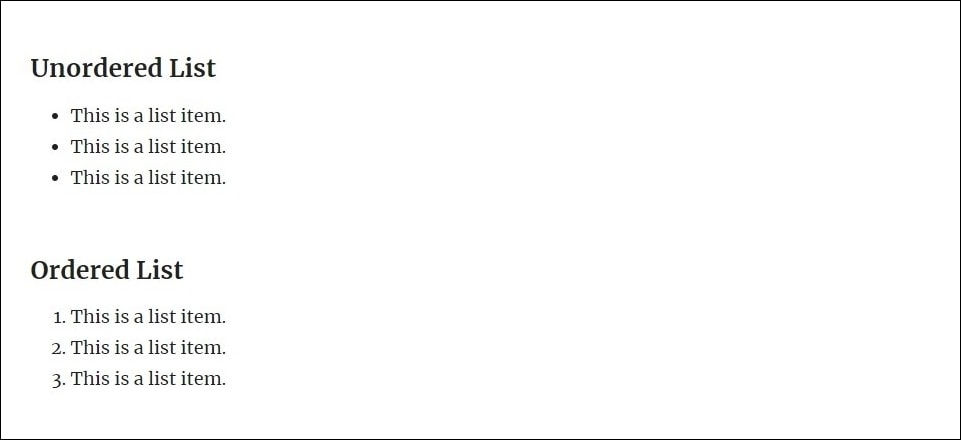
There are two types of list formats in HTML. The first is called the “unordered list”, which you might know as a “bullet point list.” It’s designed for listing things where the specific order of the list doesn’t truly matter. The code looks like this:
----
<ul>
<li>This is a list item.</li>
<li>This is a list item.</li>
<li>This is a list item.</li>
</ul>
----
The second list format is the “ordered list”, which assigns a number to every list item, in ascending order. The code looks like this:
----
<ol>
<li>This is a list item.</li>
<li>This is a list item.</li>
<li>This is a list item.</li>
</ol>
----
Blockquote
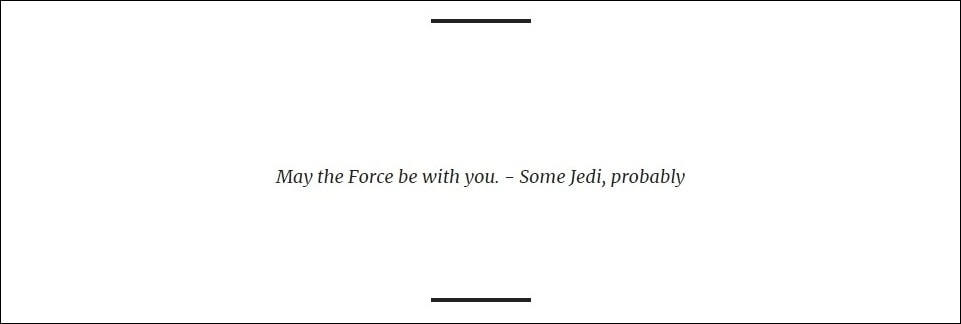
This isn’t a tag you’ll use every day, unless you edit a lot of articles in HTML by hand, but I decided to share it with you anyway. The “blockquote” tag is used to define quotes, and separate those quotes (in a visual manner) from the rest of the text. Here’s the code:
----
<blockquote>May the Force be with you. - Some Jedi, probably</blockquote>
----
And here’s how it might look in context:
Page Structure Tags
Now, these are the “building blocks” of a web page. Users generally won’t “see” them, as such, as they’re used to define a web page’s layout and structure. You need to know about them, though, so you know what you’re looking at when you scroll through a page’s code.
Divide and Conquer
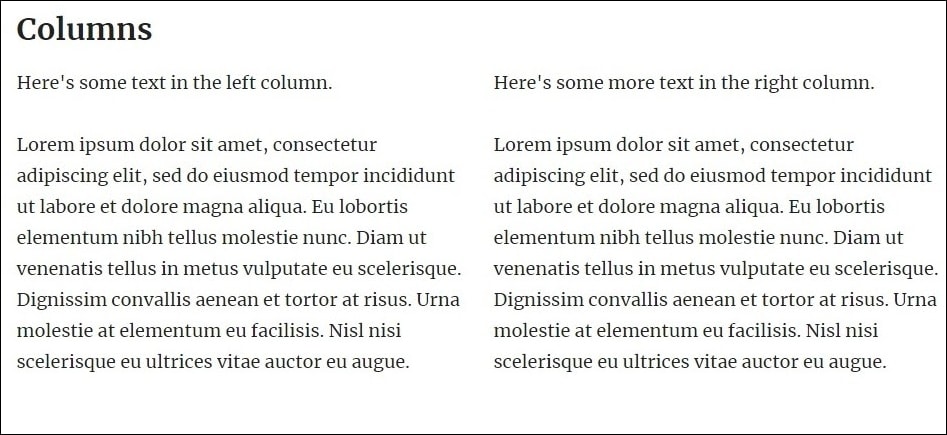
The first and oldest HTML tag in this section is the “div.” It’s a sort of general-purpose divider, meant to separate one group of content tags from another. For example, if you had two columns of paragraphs, you might write the code like this:
----
<div class="left-column">
<p>Here's some text in the left column.</p>
</div>
<div class="right-column">
<p>Here's some more text in the right column.</p>
</div>
----
Again, you need CSS to write the code that will actually turn those two “div” tags into columns, otherwise they won’t look like much. My point is that this is the sort of thing “div” tags are used for. Here’s what they look like with the layout CSS code applied.
The Beginning, Middle, and End
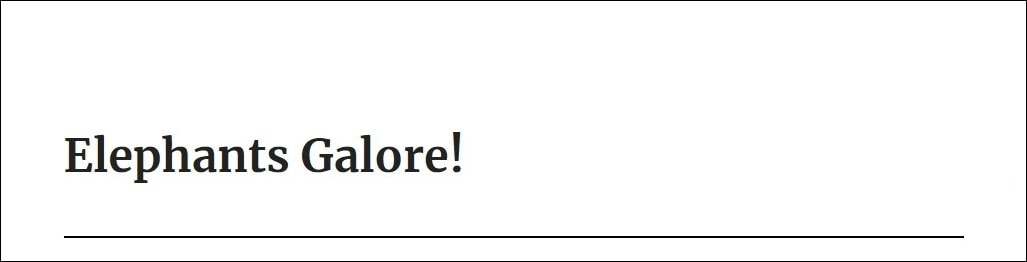
This is where we address the “header,” “section,” and “footer” tags. Basically, they’re like the “div,” but they’re designed for more specific purposes. The “header” tag is used to begin an area of content. You might use it, for example, to put your website’s name at the top of your page like this:
----
<header>
<h1>Elephants Galore!</h1>
</header>
----
The section tag is used to divide your content into, well… sections. For example, if you have one area on your homepage that shows off your blog posts, and another that shows off your e-commerce products, you might use it like this:
----
<section id="blog">
Put your blog posts here.
</section>
<section id="eCommerce">
Put your store products here.
</section>
----
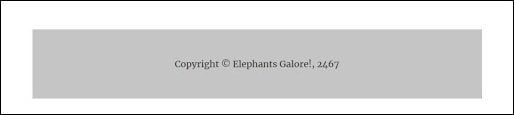
Lastly, the “footer” tag is used to close off an area of content. On a web page, you might use a “footer” tag to show copyright information, like so:
----
<footer>Copyright © Elephants Galore!, 2467</footer>
----
The “Article” Tag
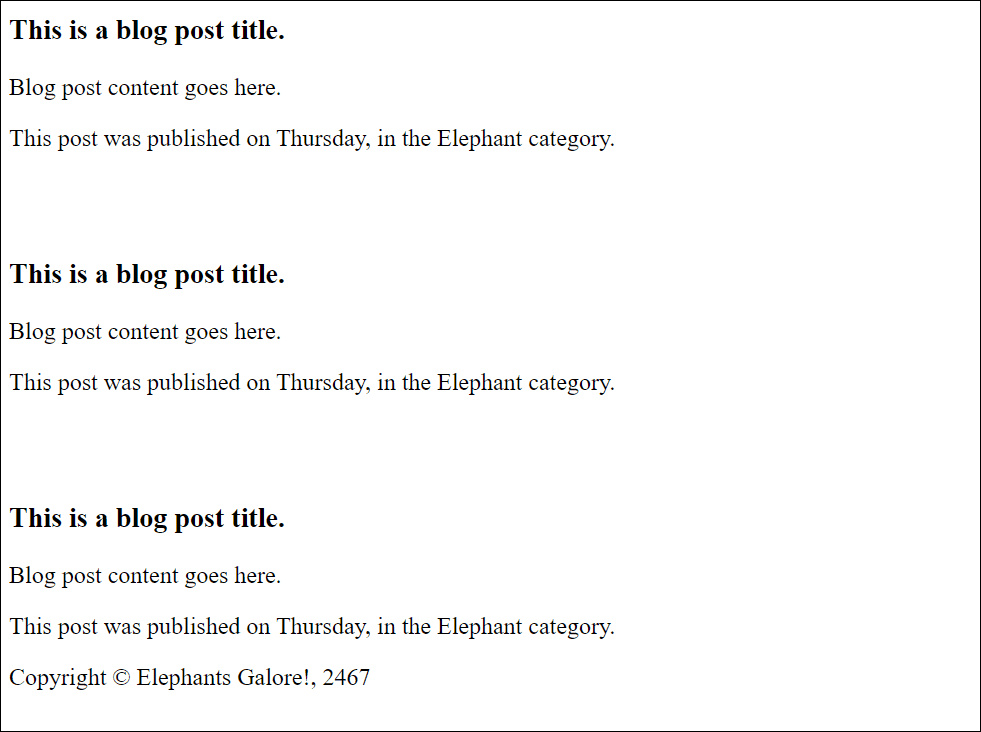
The “article” tag is used for similar content that is grouped together in one section, like blog posts, e-commerce product listings, real estate listings, and or anything like that. You can use the “header,” “section,” and “footer” tags inside of an “article” tag to display information in an organized way.
Here’s an example:
----
<article>
<header>
<h3>This is a blog post title.</h3>
</header>
<section>
<p>Blog post content goes here.</p>
</section>
<footer>
<p>This post was published on Thursday, in the Elephant category.</p>p>
</footer>
</article>
<article>
<header>
<h3>This is a blog post title.</h3>
</header>
<section>
<p>Blog post content goes here.</p>
</section>
<footer>
<p>This post was published on Thursday, in the Elephant category.</p>
</footer>
</article>
<article>
<header>
<h3>This is a blog post title.</h3>
</header>
<section>
<p>Blog post content goes here.</p>
</section>
<footer>
<p>This post was published on Thursday, in the Elephant category.</p>
</footer>
</article>
----
That Should Get You Started
Naturally, HTML can get a lot more complicated than what I’ve shown you here, but the basic concepts are simple enough. With what you learned here, you should be able to dig into a web page or template without worrying too much about messing it up, as long as you only make small changes.
Every template or theme works a bit differently, though. They’re all coded in slightly different ways. Look carefully at the “class=” and “id=” attributes of tags to help you figure out what they do, and what part of the page they affect. Not every developer writes classes or ids that are easy to understand, but they can help.
Back up the original files, save often, and don’t forget that most magical of buttons: “Undo.” And most of all, have fun!
Fonte: https://www.websiteplanet.com/blog/html-guide-beginners/


